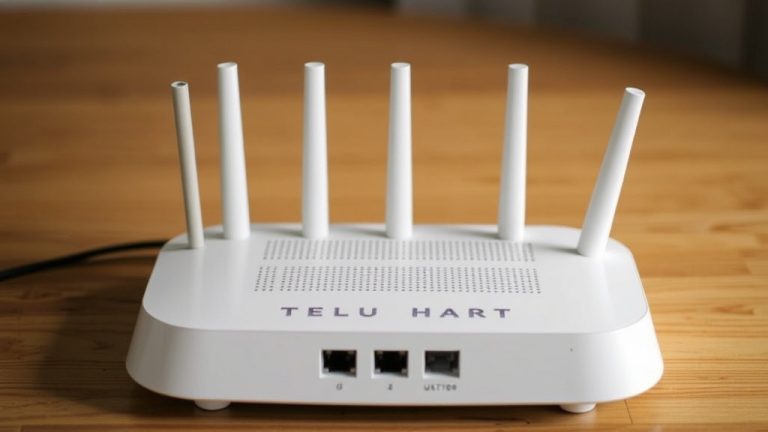
Master the Perfect Telus Extender Setup: Boost Your Wi-Fi Coverage and Eliminate Dead Zones Today
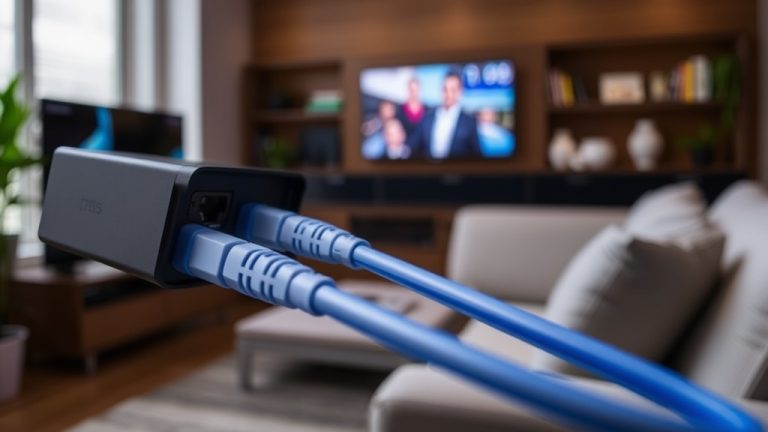
Are you tired of dealing with stubborn Wi-Fi dead zones in your home or office? A reliable telus extender setup can dramatically improve your wireless coverage, ensuring seamless internet access across every room. Whether you’re streaming, working remotely, or gaming online, a well-executed telus extender setup is essential for maximizing your network’s performance. But mastering this process isn’t always straightforward—proper planning and execution are key to avoiding frustration and achieving optimal results.
Understanding the nuances of the telus extender setup process can seem daunting at first. However, with clear guidance and strategic steps, you can eliminate dead zones and create a robust Wi-Fi environment. This article offers a comprehensive walkthrough, from initial setup to fine-tuning your extender for peak performance. Ready to boost your coverage and enjoy stable internet everywhere? Let’s dive into the essentials of a successful telus extender setup.
Understanding the Importance of a Proper Telus Extender Setup
Why a Proper telus extender setup Matters
The reality is that Wi-Fi dead zones are more common than many realize. Thick walls, large floor plans, and electronic interference can hamper signal strength, making a telus extender setup essential for coverage expansion. Proper setup ensures your extender integrates seamlessly with your existing router, providing a unified, strong Wi-Fi signal across your entire space.
Without the right configuration, you may experience slow speeds, dropped connections, or inconsistent performance. A well-executed telus extender setup not only boosts coverage but also maintains network stability. This is especially critical in homes with multiple devices or smart home systems that demand reliable internet connectivity.
How a Faulty Setup Can Impact Your Network
- Persistent dead zones despite installing an extender
- Reduced overall internet speeds
- Frequent disconnections and buffering issues
- Difficulty connecting devices to the network
- Increased frustration and wasted time troubleshooting
Considering these factors, investing time in a meticulous telus extender setup process is well worth it. The goal is a smooth, hassle-free experience that delivers consistent, high-quality Wi-Fi coverage throughout your environment.
Step-by-Step Guide to a Successful Telus Extender Setup
Preparing for Your telus extender setup
Start by assessing your current Wi-Fi coverage. Identify dead zones and determine the best location for your extender. Ideally, it should be placed midway between your router and the area needing coverage, but not too close to the router to avoid signal overlap issues. Ensure your extender and router are both plugged into power sources and are within a reasonable distance for initial pairing.
Before beginning, update your router’s firmware to ensure compatibility and security. Also, keep your device’s user manual handy, as specific steps may vary depending on the model.
Numbered Steps for telus extender setup
- Connect your computer or smartphone to the extender’s default Wi-Fi network, usually named after the device model.
- Open a web browser and enter the default IP address or URL provided in your manual to access the setup portal.
- Follow on-screen instructions to select your existing Wi-Fi network.
- Enter your Wi-Fi password to allow the extender to connect to your router.
- Choose a name (SSID) for your extended network—consider naming it similarly to your main network for easy identification.
- Set a strong password for network security.
- Save your settings and allow the extender to reboot and apply configurations.
- Test your connection by moving to areas where dead zones previously existed.
Throughout this process, ensure your device stays within the recommended range and avoid interference from other electronics. This systematic approach guarantees a reliable telus extender setup that enhances your Wi-Fi coverage effectively.
Optimizing Your Wi-Fi Coverage After telus extender setup
Fine-Tuning Your Extender for Peak Performance
Once your extender is set up, the next step involves optimizing its placement and settings for maximum coverage. Consider this: even a perfectly configured extender can underperform if placed poorly. Moving it just a few feet can significantly improve signal strength and speed.
Additionally, updating the extender’s firmware periodically ensures compatibility with your router and fixes potential bugs. Some models offer advanced settings like band steering or QoS (Quality of Service), which can prioritize bandwidth for streaming or gaming devices, further enhancing your network experience.
Comparison: Static vs. Dynamic Placement
| Static Placement | Dynamic Adjustment |
|---|---|
| Fixed location based on initial testing | Adjusting placement based on ongoing performance |
| Easy to set and forget | Requires periodic testing and repositioning |
| Best for consistent environments | Ideal in homes with changing layouts or interference |
Regularly testing your Wi-Fi speeds with tools like Speedtest can help verify improvements after telus extender setup. Fine-tuning ensures your network remains resilient and fast, with minimal dead zones.
Troubleshooting Common Issues During telus extender setup
Common Problems and Solutions
- Extender not connecting to Wi-Fi: Ensure you entered the correct Wi-Fi password and that the extender is within range of your router.
- Slow speeds or intermittent connectivity: Try repositioning the extender closer to the router or away from interference sources like microwaves or cordless phones.
- Unable to access extender’s setup page: Clear your browser cache, disable VPNs, or try a different device.
- Frequent disconnections: Update firmware, reset the device, or check for network congestion.
In some cases, a factory reset followed by a fresh telus extender setup can resolve persistent issues. Remember, patience and systematic troubleshooting are key to a successful setup process.
When to Seek Professional Help
If repeated troubleshooting fails, consider consulting Telus customer support or a professional network technician. Sometimes, compatibility issues or complex interference patterns demand expert intervention to optimize your Wi-Fi environment fully.
Comparing Different Telus Extenders: Which One Is Right for You?
Features to Consider When Choosing a Telus Extender
Not all extenders are created equal. When planning your telus extender setup, evaluate models based on:
- Dual-band vs. tri-band capabilities
- Maximum coverage area (square footage)
- Speed support (e.g., AC1200, AC1750, AX3000)
- Ease of setup and user interface
- Compatibility with your existing router and devices
- Additional features like MU-MIMO, mesh support, or smart app control
For example, a tri-band extender might be overkill for a small apartment but essential for a large, multi-story house. Comparing models and reading reviews can help you select the best device to streamline your telus extender setup and ensure optimal performance.
Case Study: Upgrading Your Network with the Right Extender
Consider a family with a sprawling two-story home. Initial telus extender setup with a basic single-band device resulted in frequent buffering during streaming. Upgrading to a tri-band extender with mesh capabilities improved coverage and stability, transforming their Wi-Fi experience. The key was choosing the right model aligned with their needs, simplifying the setup process and boosting overall satisfaction.
References and Resources
These resources provide valuable information about telus extender setup. Check them out for additional insights:

Authoritative Sources on telus extender setup
-
Telus Support: Wi-Fi Extenders
Official Telus guide on configuring and optimizing Wi-Fi extenders, including troubleshooting tips.A comprehensive resource for users seeking to master the telus extender setup.
-
How to Extend Your Wi-Fi Coverage – TechRadar
Detailed article on various methods, including extenders, for boosting Wi-Fi signals at home.Helpful for understanding the broader context of telus extender setup options.
-
Best Wi-Fi Extenders of 2023 – CNET
Comparison and reviews of top Wi-Fi extenders, including features and setup tips.A valuable resource for choosing the right device for your telus extender setup.
-
Best Wi-Fi Range Extenders – PCMag
Expert reviews and buying advice to help you select and set up your extender effectively.Enhances understanding of telus extender setup best practices.
-
Speedtest.net: Wi-Fi Range Extenders
Guides on testing and optimizing Wi-Fi signals after extender installation.Useful for validating the success of your telus extender setup.
-
How to Extend Wi-Fi in Your Home – Digital Trends
Practical tips and DIY approaches for extending Wi-Fi coverage efficiently.Supports successful telus extender setup strategies.
-
Reddit: Home Networking Tips
Community-driven advice and real-world experiences on extender setups and troubleshooting.A practical supplement to official guides for mastering telus extender setup.
Frequently Asked Questions
What is the best way to ensure a successful telus extender setup?
The most effective way to ensure a successful telus extender setup is to carefully plan the placement of the extender, update all firmware before installation, and follow the manufacturer’s instructions precisely. Testing the signal strength after setup helps confirm optimal positioning and performance.
Can I do a telus extender setup myself, or do I need professional help?
Most users can successfully perform a telus extender setup on their own by following step-by-step guides. However, if you encounter persistent issues or have a complex home layout, consulting a professional can save time and ensure optimal results.
How often should I update my extender’s firmware after telus extender setup?
It’s recommended to check for firmware updates at least once every three to six months. Keeping your extender’s firmware current enhances security, stability, and compatibility, ensuring your telus extender setup remains effective over time.
What should I do if my Wi-Fi speeds are slow after telus extender setup?
First, verify the placement of your extender—moving it closer to your router can improve speeds. Also, check for firmware updates, reduce interference sources, and consider upgrading to a higher-capacity extender if necessary. Conducting speed tests helps identify bottlenecks and guide adjustments.
Is the telus extender setup compatible with all routers?
Most Telus extenders are compatible with standard Wi-Fi routers supporting common standards like 802.11ac or ax. However, it’s advisable to check your extender’s specifications and your router’s compatibility list to ensure seamless integration during telus extender setup.
Conclusion
Mastering the telus extender setup process is a crucial step toward eliminating Wi-Fi dead zones and creating a seamless internet experience throughout your home or office. Proper placement, configuration, and ongoing optimization ensure your network remains fast and reliable. Whether you’re a tech novice or an experienced user, following these guidelines allows you to maximize your Wi-Fi coverage efficiently.
Remember, a well-executed telus extender setup not only enhances your internet experience but also saves you time and frustration. Take the time to plan, implement, and fine-tune your setup—the payoff is a robust, stable Wi-Fi network that keeps you connected wherever you are. Your enhanced online experience starts with a simple but powerful step: mastering your telus extender setup today.
Find out more information about “telus extender setup”
Search for more resources and information: